
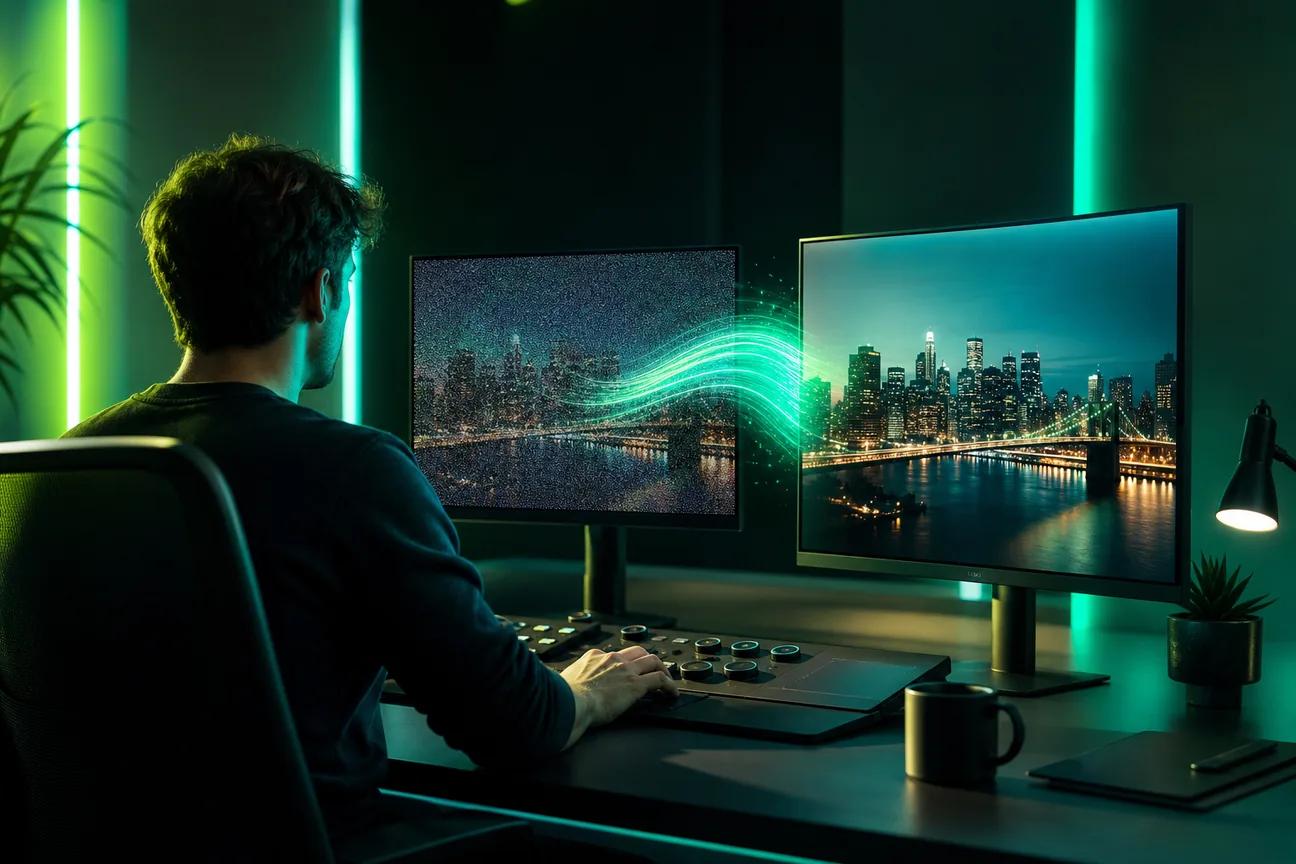
A grainy night clip can pull your eye away from the story. The right AI video denoiser can reduce that noise, but the workflow matters just as much as the filter, so here are five tools for different editing setups.
We analyzed 70 comments and questions from YouTube, Reddit and Quora about AI video denoising and found that 31% mentioned poor noise reduction quality.
1. Neat Video: Profile-based cleanup for hands-on editors
Neat Video is a noise-reduction filter for footage with grain, flicker, or other visible flaws. It suits editors who want to build a camera- or clip-specific noise profile and keep the work in a supported editing workflow.
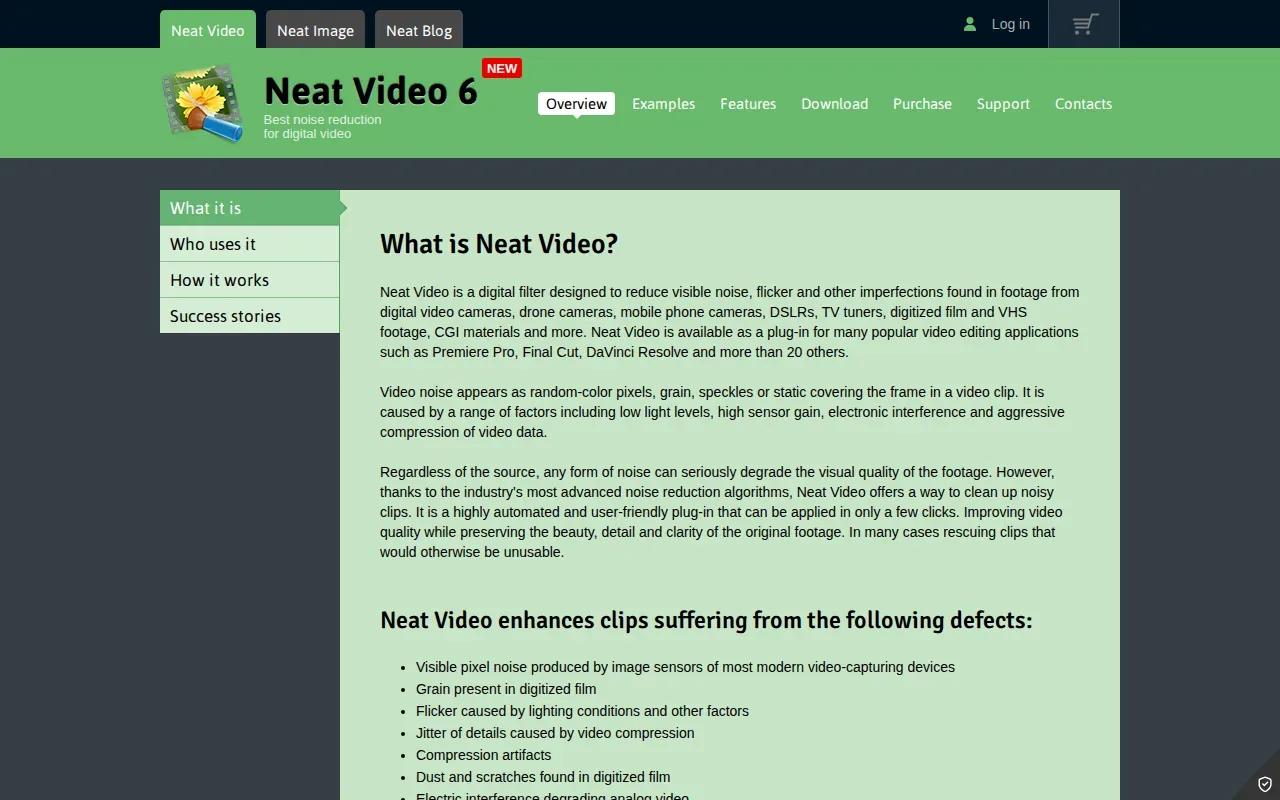
That profile-based approach asks for a little care up front. Choose a representative part of the shot, build its profile, then check the effect on the rest of the clip. If a scene changes lighting or camera angle, make sure the profile still fits before using it across the full shot.
Neat Video uses batch processing, which can help when a project has several shots that need a similar pass. It’s a good fit if you’d rather tune the result than rely on a single automatic setting. The tradeoff is the hands-on setup: you’ll need time to profile the footage and review the result, especially when shots have different noise patterns.
Noise reduction can soften real texture along with grain. Check a face, hair, or fine fabric at full size, then play the shot to catch changes that a still frame can hide.
2. DaVinci Resolve Studio by Blackmagic Design: Denoising within a color and finishing workflow
DaVinci Resolve Studio by Blackmagic Design puts temporal noise reduction and AI spatial noise reduction inside a color and finishing workflow. It fits editors who already grade and finish their footage there, and who want denoising in the same project rather than a separate processing step.

Temporal noise reduction compares information across frames. Spatial noise reduction works on detail within a single frame. Those approaches can address different kinds of noise, but the result still needs a motion check: processing across frames may leave trails around moving subjects, while stronger smoothing can weaken fine texture.
Studio costs $295. The option uses batch processing, which is useful when a group of shots needs the same finishing pass. For a clip with heavy grain, test a short section with both still detail and motion before applying a setting across a sequence.
Noise reduction fits best as one part of the finishing workflow, not as a way to rescue every damaged source. Keep the original nearby for an on-off comparison. If a shadow looks clean but a face turns soft, reduce the effect rather than chasing a perfectly smooth frame.
That’s the main appeal here: the denoising step sits alongside the color work, so you can judge cleanup in the context of the finished image. But it makes most sense if Resolve is already where you do that work.
3. Final Cut Pro by Apple: Timeline-based noise reduction for Apple editors
Final Cut Pro by Apple is a Mac and iPad editor with a visual noise-reduction workflow. It’s best suited to Apple-based editors who want to clean up a shot right in the timeline.
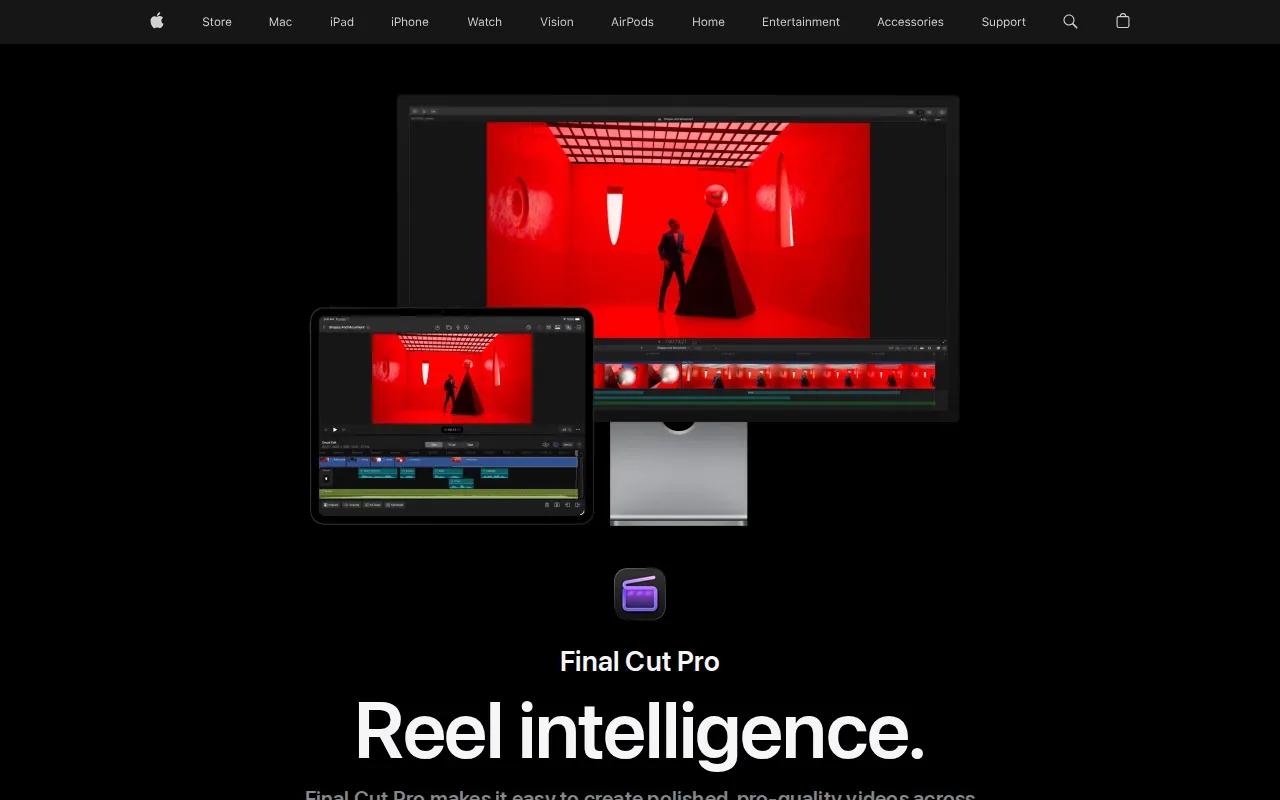
The Noise Reduction effect can be added to a standard clip or a 360-degree clip. The first time you apply it, Final Cut Pro analyzes the clip before showing the result. You can then adjust the amount of noise reduction and sharpness in the inspector.
Effect order matters. If you’re adding more than one clip effect, place noise reduction first or move it to the top of the effect list. That lets the cleanup run before later effects change the image. Use the viewer at 100% to inspect fine details, then return to normal playback to check the motion.
This route keeps the edit simple when only a few clips need cleanup. A small-sensor phone shot filmed in dim light is a clear test case. Apply the effect, compare the face and background, then decide if the improvement holds up across the full clip.
Final Cut Pro makes sense when you want visual controls inside the timeline. If you need repeated profile tuning across many different shots, a dedicated filter workflow may suit you better.
4. HitPaw VikPea: Repeatable cleanup across multiple clips
HitPaw VikPea is an AI-powered video cleanup tool with motion-aware temporal smoothing. It suits creators who need repeatable denoise results on many clips and want to avoid extra render passes.

Motion-aware processing matters because noise changes from frame to frame, while real details move with the subject. A temporal approach aims to reduce the unwanted changes without making moving edges look unstable. Still, inspect the output in motion. Hair, leaves, or a quick hand gesture can reveal blur that a paused frame hides.
VikPea also has cloud-powered rendering, which shifts processing away from your local CPU or GPU. That can be useful when your computer is underpowered for a job, though cloud workflows involve sending footage for remote processing. Think about your project’s privacy needs before uploading private or client footage.
Test one difficult sample first, then compare its detail and motion before moving on to a larger group.
VikPea is a sensible fit when consistency across a batch matters more than building a profile for each shot. For a single shot that needs careful manual tuning, another workflow may give you more direct control.
5. UniFab Denoise AI: Batch denoising for low-light footage
UniFab Denoise AI is a Windows and Mac option for low-light video denoising. It uses an AI-powered algorithm, supports batch processing, and has a maximum resolution of 4K.

Batch processing is useful when a folder holds several clips with the same basic problem, such as sensor grain from a dim indoor shoot. Instead of treating each file as a separate edit, you can run a group through the denoising workflow. Review the results before delivery, though. A batch saves repetitive setup, but it doesn’t mean every clip has identical lighting or texture.
Test a representative dark shot before queuing a whole project.
Check the current workflow and terms before processing sensitive footage.
AI video denoiser comparison: which tool fits your workflow?
There isn’t one workflow that fits every source clip. Choose by where you edit, how many files need cleanup, and how much control you want over the result.
| Tool | Workflow fit | Useful distinction | Check before committing |
|---|---|---|---|
| Neat Video | Hands-on editing | Batch processing with camera- or clip-specific profiles | Whether profile setup suits your shot mix |
| DaVinci Resolve Studio by Blackmagic Design | Color and finishing | Temporal and AI spatial noise reduction in the workflow | Motion artifacts and texture loss |
| Final Cut Pro by Apple | Mac and iPad timeline editing | Visual noise-reduction effect on a timeline clip | Analysis time and effect order |
| HitPaw VikPea | Repeatable work across clips | Motion-aware temporal smoothing and cloud rendering | Motion detail and cloud privacy needs |
| UniFab Denoise AI | Low-light batch cleanup | Windows and Mac support, with output up to 4K | Local versus cloud processing for your footage |
For any tool, test the same short source segment before processing a full sequence. Include a dark area, fine detail, and moving edges. View the result at the delivery size, then watch it at normal speed. The best-looking still can still have distracting shimmer or soft motion.
Also separate denoising from video generation. OmniRender is an independent browser-based app for making short videos from text prompts and image references; it isn’t a cleanup tool for existing footage. It uses underlying Google technology, but OmniRender is a separate app and isn’t a Google-owned or Google-endorsed product.
Frequently Asked Questions
What does an AI video denoiser do?
An AI video denoiser reduces unwanted visual noise in existing footage. Depending on the tool and source, that may mean less low-light grain, sensor speckle, flicker, or compression noise. The goal is to make noise less distracting while keeping real details such as skin texture and hair. Check both still frames and motion before exporting.
Can denoising make a video look blurry?
Yes, strong noise reduction can soften detail along with the noise. Faces, hair, fabric, foliage, and small text are useful places to check for lost texture. Start with a short sample and use the mildest setting that reduces the visible problem. A smooth frame isn’t a good result if moving edges look smeared.
Which denoiser works inside an editing timeline?
Final Cut Pro offers a visual noise-reduction workflow, while Neat Video offers a professional plugin workflow. DaVinci Resolve Studio includes temporal and AI spatial noise reduction within its color and finishing workflow. The right fit depends on your editor and how much control you need per shot.
Can I denoise several videos at once?
Yes. Neat Video and UniFab Denoise AI support batch processing, and HitPaw VikPea is aimed at repeatable cleanup across multiple clips. Before processing a full folder, test clips with different lighting or motion. One setting may not suit every camera shot, even when the noise looks similar.
Is OmniRender a video denoiser?
No. OmniRender is an independent app that makes short AI videos from prompts and image references; it doesn’t clean up footage you’ve already recorded. Its features and plans are separate from Google’s underlying technology.
Conclusion
Choose the tool that fits your editing setup, then test a short clip with both fine detail and motion.