Got a strong clip that ends a beat too soon? AI video extension can add a new moment after the last frame instead of repeating or slowing down the footage. Here’s how to extend a video with AI, keep the scene on track, and prepare the result for your next edit.
We analyzed 33 comments from Reddit and YouTube about extending Videos with AI and found that 33% mentioned short generation limits.
Step 1: Choose an Extension Workflow and Set Your Goal
First, decide what you need the new footage to do. A product shot may need two more seconds so its label stays on screen. A travel clip may need the camera move to finish. A story scene may need a character to complete one clear action.
AI extension generates new frames to continue an existing clip. It isn’t the same as slowing footage down or looping the last few frames. The model uses the clip as visual context, then follows your direction for what happens next. The result still needs review, especially at the point where the source ends and the new footage begins.
| Your goal | Workflow to try | What to check first |
|---|---|---|
| Add a short beat to a finished clip | Upload or select the source, then extend after the last frame | Does the final frame show clear motion? |
| Continue a scene made with an AI video tool | Use that tool’s extension control when available | Can it carry the same subject and camera motion? |
| Make a clip fit a new frame shape | Use background expansion or reframe the shot | Do you need more scene time, or more room around the subject? |
| Build a longer narrative | Generate short extensions one at a time | Does each new pass still match the original scene? |
Background expansion solves a different problem. It adds visual space around a shot so you can adapt its framing, while scene extension adds time after the clip. Pick the one that matches your edit. If you’re still weighing how to make a full clip, OmniRender’s AI video generator comparison can help you think through the wider creation workflow.
OmniRender is an independent browser-based app. Its Extend action adds a continuation to a clip. Check the app for current plan, credit, resolution, and usage details before generating.
Before you choose a workflow, set a simple finish line: “Keep the same shot, and let the product finish turning.” That gives you a clear test for the result.
For more context on extending video, see this overview.
Step 2: Prepare and Upload the Clip
The model has to read the ending before it can continue it. Start with a clip whose last moment is easy to understand. A person walking steadily toward a door gives the model a clear direction. A whip pan that ends in blur leaves it more room to guess.
Watch the final second closely. Look for a hard cut, a sudden change in camera direction, a hand covering the main subject, or a bright flash that changes the scene. If you can trim away an unstable tail, do so before extending the clip. A clean handoff often helps more than a longer instruction.
Check your file and aspect ratio before you upload. Keep a vertical source for a vertical social post when you can. For a wide edit, use landscape footage. If you’re adapting one frame shape to another, decide whether you want to crop the sides or generate more background around the subject. Those choices affect the composition, not just the export setting.
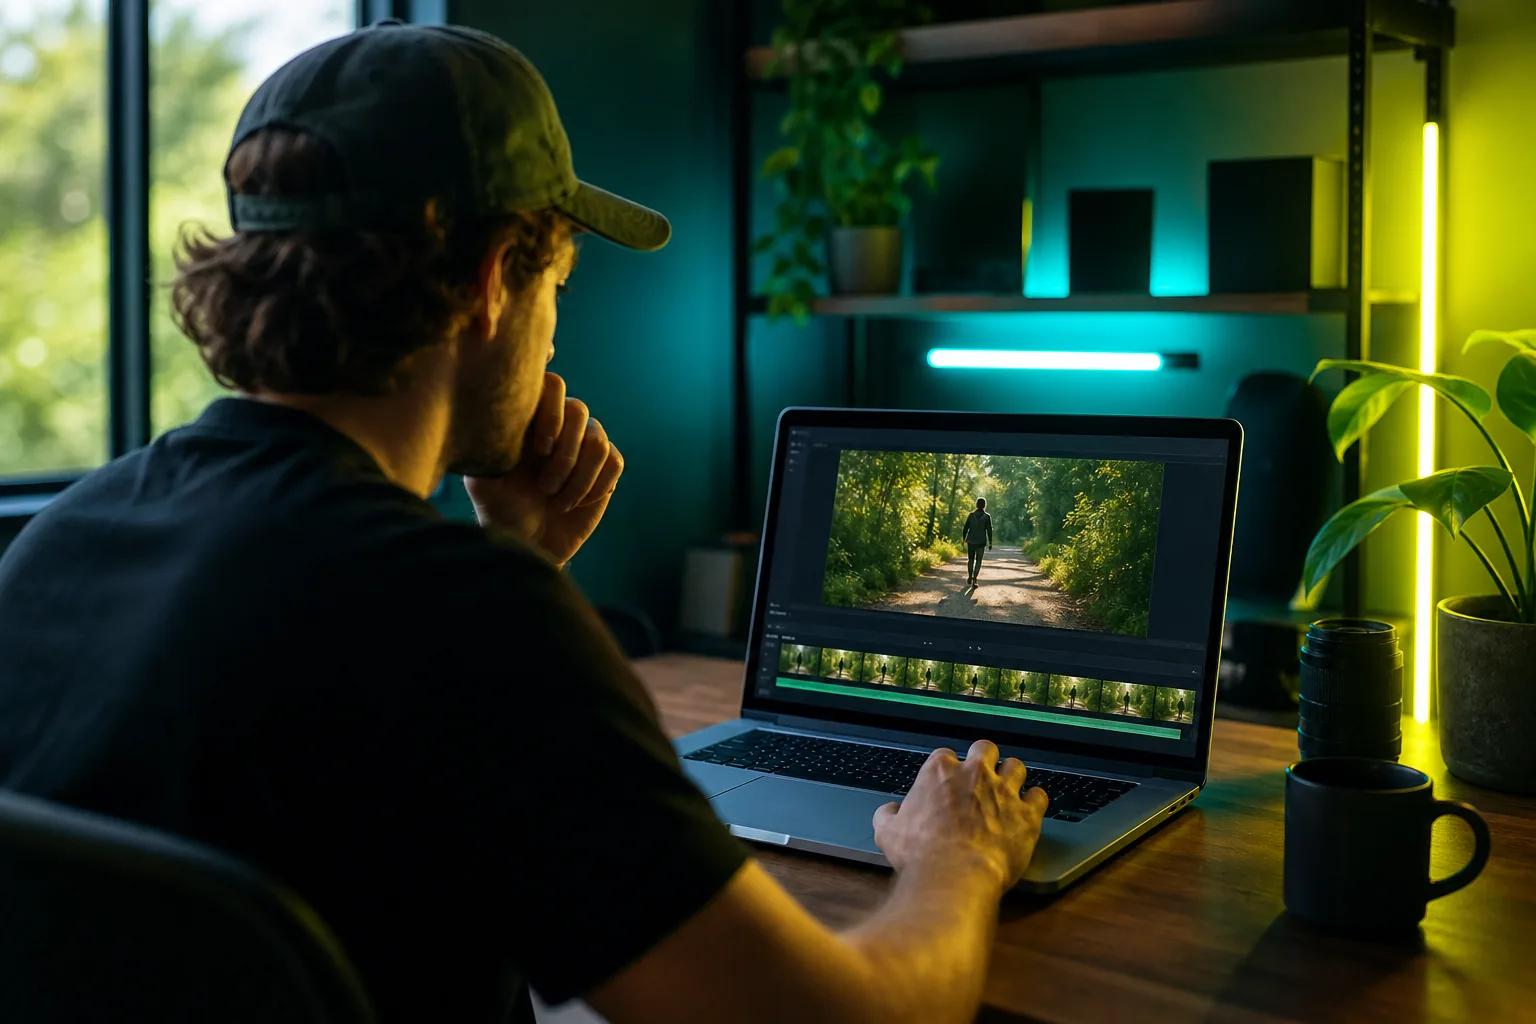
With OmniRender, you can select a video from your studio gallery and use its Extend action. The free plan doesn’t include video inputs, editing, or extensions, so you’ll need a paid plan for those tools. If you’re working with a video you uploaded rather than one made in the studio, editing or extending uploaded clips isn’t currently supported in the EEA, Switzerland, or the UK. Studio-generated clips work there.
Think about what matters most in the source: the person’s look, the product shape, or the camera move. If your project starts from a still image instead of footage, OmniRender’s guide to image-to-video workflows covers how a reference image can shape a generated shot.
Don’t expect a poor source to become a clean one just because the model adds frames. If the subject is already hidden or distorted at the endpoint, trim back to a clearer moment or choose another clip.
Step 3: Write a Prompt That Continues the Scene
A continuation prompt should say what stays the same before it describes what happens next. Keep it short enough that the key details don’t get buried. A useful order is: subject, current motion, next action, camera behavior, then lighting or setting.
For example: “The same woman in a red raincoat keeps walking toward the open doorway. The camera continues its slow push forward. Keep the overcast light and wet pavement. She reaches the doorway and pauses.” This gives the model a small next beat rather than asking it to invent a new scene.
Use clear direction words. Say “continues moving left to right” instead of “keeps moving.” If the camera is already panning right, ask it to continue that pan. If the shot is static, say to keep the camera still. Sudden new camera instructions can fight the movement in the source clip.
For repeated scenes, keep a small continuity anchor at the start of each prompt. Name the fixed details, such as the character’s coat, hair, and lighting. Then change only the action or story beat. A continuation prompt anchor uses stable descriptors across prompts to help keep the look consistent. The principle is simple: repeat the details that must not drift.
Avoid piling on several new ideas at once. If a character is walking toward a door, ask the model to finish that movement. Don’t also demand a new location, another character, a different time of day, and a dramatic camera change in the same pass. That’s a new shot, not a clean continuation.
Here’s a prompt pattern you can adapt:
- “Keep the same [subject and defining details].”
- “Continue [current motion] in the same direction.”
- “The camera [continues its move or stays still].”
- “Keep the same [lighting, color, and setting].”
- “Next, [one modest action or visual beat].”
If sound matters, say what should be heard in the continuation. For dialogue, put the exact spoken line in quotation marks when the tool supports it. OmniRender can generate music, sound effects, and lip-synced dialogue with the video, so include only the audio direction the scene needs.
A camera move can make a continuation feel natural, but it shouldn’t be a new move just for effect. A separate guide to automated camera moves can help if you’re planning a more deliberate move for a short social shot.
Step 4: Generate, Check Continuity, and Refine
Generate a short continuation first. It’s easier to judge a small pass, and mistakes have less room to build. In OmniRender, use the Extend control on a finished studio video, then review the generated section alongside the source. Each continuation adds time as a new generation, and the full chain can run up to 40 seconds.
Watch the join at normal speed before you inspect individual frames. Does the movement flow across the cut? Does the camera keep its path? Then pause near the seam and look for a face or product changing shape, a background edge moving, or a sudden shift in color and light.
Use this review list:
- Subject: Does the person, character, or object still look like the source?
- Motion: Does the action continue in the same direction and at a similar pace?
- Camera: Does the pan, push, or still framing make sense?
- Scene: Do the light, colors, and background stay stable?
- Sound: Does the audio change at the seam in a way that feels abrupt?
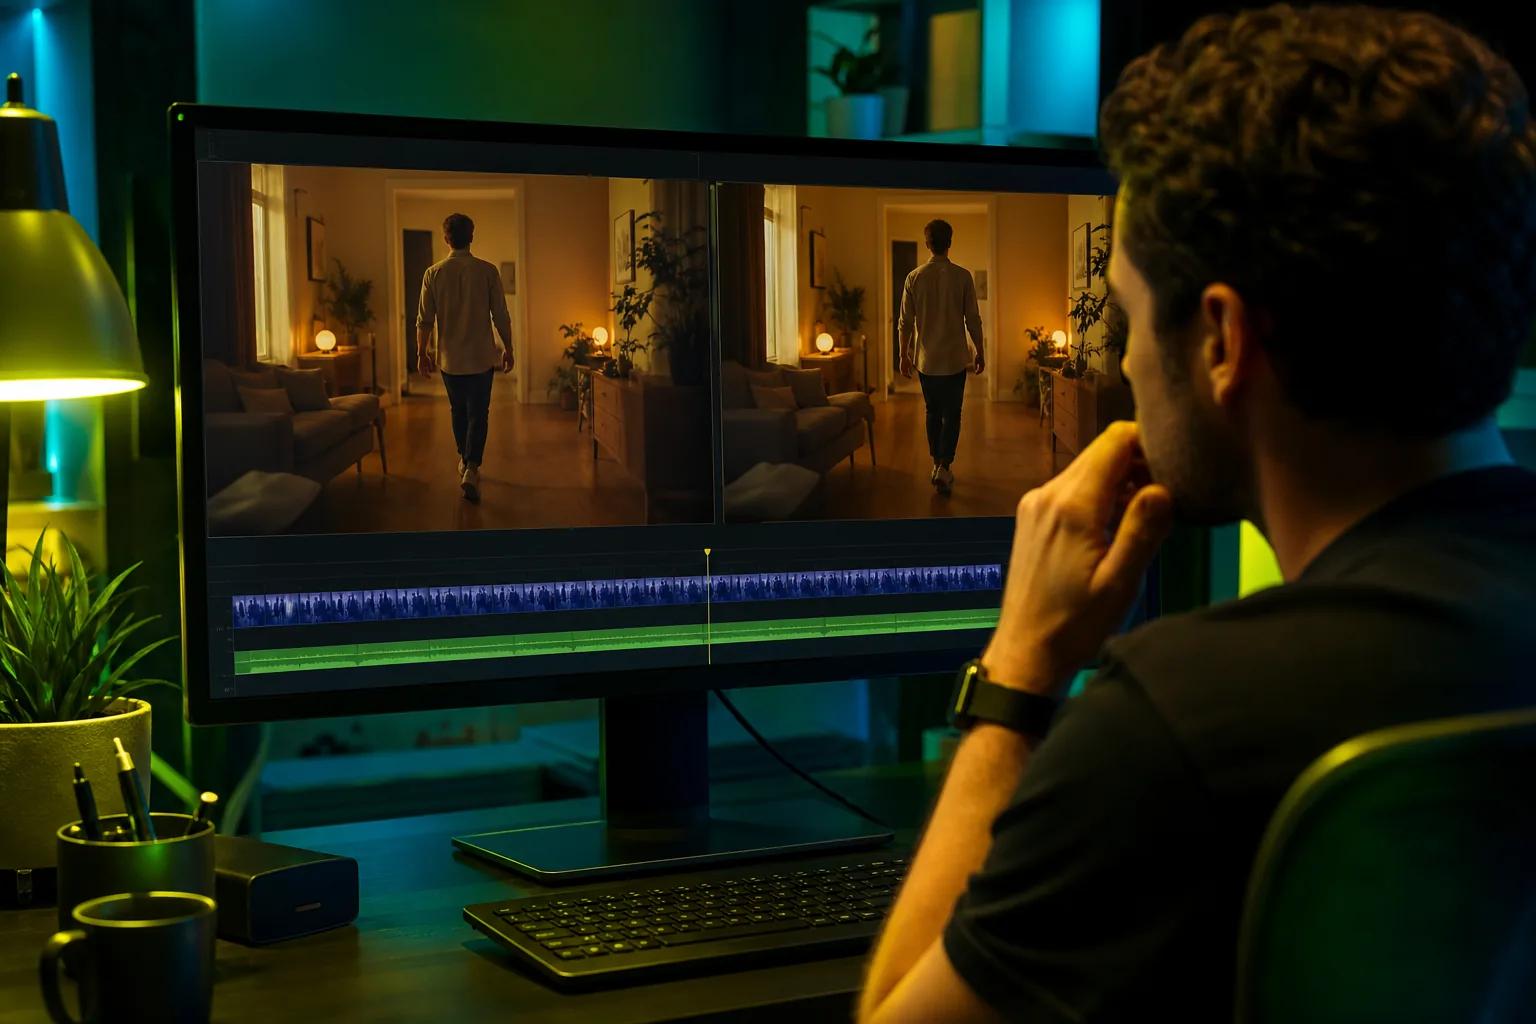
If the face changes, shorten the next pass and make the identity details explicit. If the camera jumps, remove new camera directions and ask it to continue the existing move. If the background shifts, trim to a clearer endpoint and state which scene details must stay fixed.
Change one thing at a time. A shorter prompt can be easier to control than a paragraph of competing directions. If the first result has one usable stretch and one weak stretch, keep the clean portion for your edit rather than treating the whole generation as all-or-nothing.
Repeated extensions can add up to a longer scene, but small errors may build from pass to pass. Review each new join before using its output as the source for another extension.
Step 5: Format, Export, and Use the Extended Video Responsibly
Match the frame shape to where the video will appear. Use 9:16 for a vertical short, or 16:9 for a landscape edit. Check OmniRender’s current options to confirm supported ratios and output resolutions. Choose a resolution suited to the job, and verify whether upscaling or higher-resolution output is available on your plan.
Before you export, watch the full clip with its sound. Check that dialogue still fits the action and that music or ambient sound doesn’t stop sharply at the extension point. If you’re adding captions or a call to action, leave enough visual breathing room for them. A product reveal that ends just as the text appears may need a slightly longer hold.
Check the license for your plan and the rules of the place where you’ll post. Confirm OmniRender’s current licensing terms for your plan and exact use; don’t assume free and paid plans include the same rights. A generator’s licence doesn’t clear a song, logo, reference image, or real person’s likeness for you.
Keep a simple record with the source clip, plan tier, music rights, and any disclosure your destination platform requires. If you publish realistic synthetic footage, make sure viewers aren’t misled into thinking it shows a real event or person. For more on provenance, consult this standards resource. Provenance details can support transparency, but they don’t replace a check of the platform’s rules.
For another view of export choices, a guide to AI video tools with no-watermark options explains why it’s worth checking output rules before you post. Compare those terms with the plan you’re using, not just the preview.
Frequently Asked Questions
Can AI extend a video I already made?
Yes, if your tool supports video extension and accepts your source clip. Some workflows only extend footage made inside that same tool. In OmniRender, the Extend action works on studio-generated videos, while extending uploaded video is subject to regional limits. Check your tool’s input rules before you prepare the clip.
How do I write a prompt for a video extension?
Start by naming the subject and what must stay the same. Then describe one next action, the direction of motion, and whether the camera should keep moving or stay still. Add key lighting or setting details if they matter. A focused prompt gives the model less room to invent a different scene.
Why does my extended video look different at the join?
The model may have trouble reading the final frames, or your prompt may ask for too many changes at once. Trim blur or a sudden camera move near the endpoint. Then state the subject’s key details and the existing motion clearly. If the seam still looks wrong, try a shorter continuation.
Can I extend the same clip more than once?
Yes, some tools let you use an extended result as the source for another pass. Review every join before chaining another one, since visual drift can build over time. OmniRender supports chained scene extensions up to 40 seconds total. Its Extend feature is paid, and each pass uses credits.
Can I use an AI-extended video in an ad?
That depends on the plan terms and the rights to everything in the video. OmniRender says its plans include a commercial licence, but you should still confirm the terms for your campaign. Clear music and reference material separately, and follow disclosure rules where you publish realistic synthetic media.
Conclusion
Start with a clip that ends clearly, ask for one believable next beat, and check the join before you publish. If you want to test OmniRender, start with its free plan for a short 360p generation, then review the paid options if you need video extension or higher resolution.