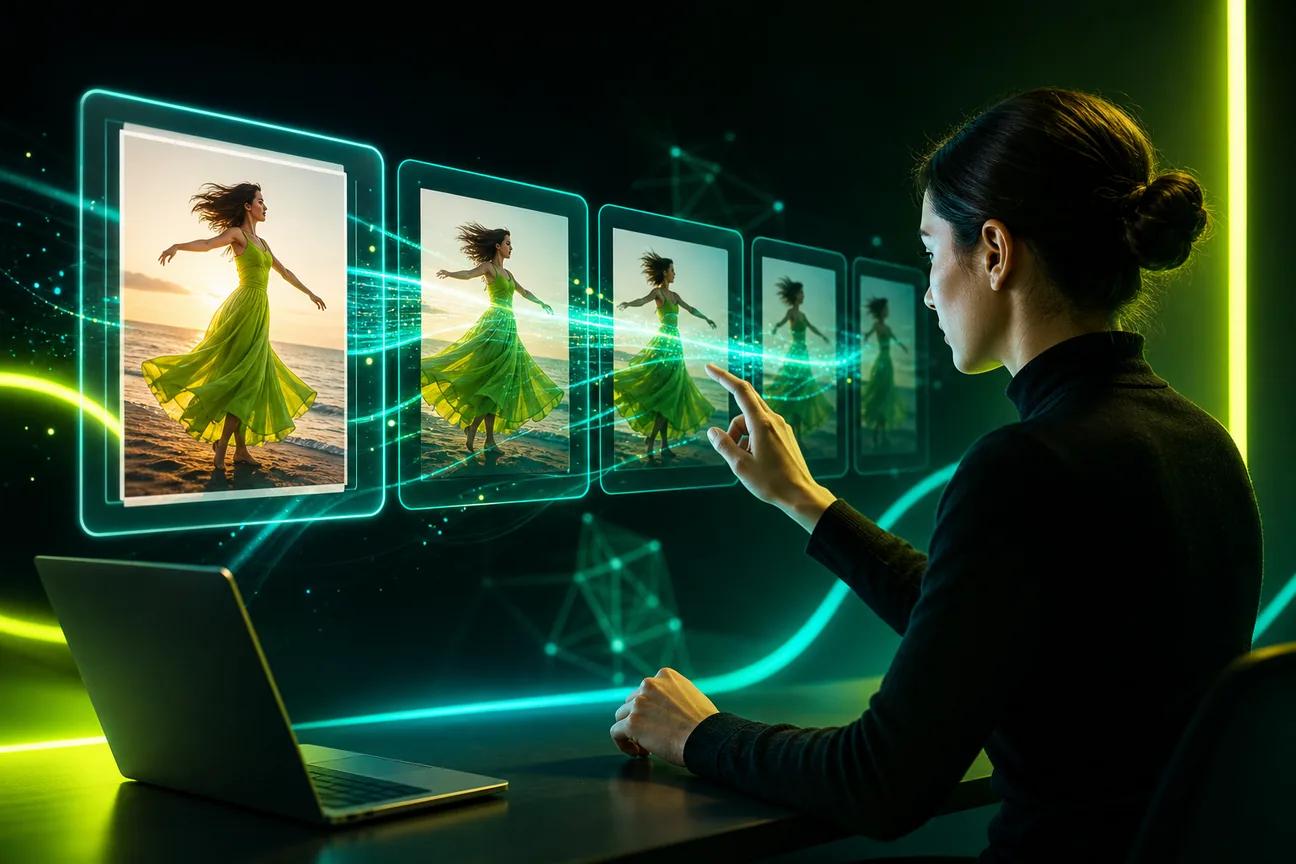
A still photo can become a short clip with a small amount of direction. If you’re learning how to animate a photo with AI, start by choosing the motion you want, then prepare a clear image and guide the result with a focused prompt.
We analyzed 68 comments and questions from YouTube, Reddit and Quora about animating photos with AI and found that 37% asked about specific animation capabilities.
The steps below cover tool choice, image prep, generation, and export. They also show where dialogue and lip sync can fit into a photo-based video.
Step 1: Choose the animation style and AI tool
First decide what should move. A gentle camera push can suit a product shot. A portrait may need a small head turn or a spoken line. An illustrated image can call for a more stylized effect. Keep the goal narrow. One clear motion usually gives the model less room to change details you want to keep.
Then pick a tool that matches the job. Some tools animate a still image with motion effects. Others generate new video frames from the image and a text prompt. Some tools can create 2D or 3D animation from a photo, sketch, or simple text prompt.
For a photo that needs a spoken line, check whether the tool supports lip sync. OmniRender generates video with sound, including lip-synced dialogue. It runs as an independent browser app using Gemini Omni models; OmniRender’s features and plans are separate from the underlying Google technology.
If you want to compare workflows before you choose, this image-to-video generator comparison looks at uses such as social clips and product ads. Check OmniRender’s current plan terms for pricing, credit allowances, output resolutions, and commercial usage rights. Licensing may differ between free and paid use.
| Your goal | Style to try | What to check |
|---|---|---|
| Give a product photo more energy | Slow push-in or slight orbit | Does the product stay the same shape? |
| Make a portrait speak | Small facial movement with dialogue | Does the tool support lip sync? |
| Animate an illustration | Stylized motion or a simple camera move | Does the output keep the art style? |
Keep the first test short. It’s easier to judge one motion in a short clip than to sort through a busy scene.
Step 2: Prepare your photo and plan the motion
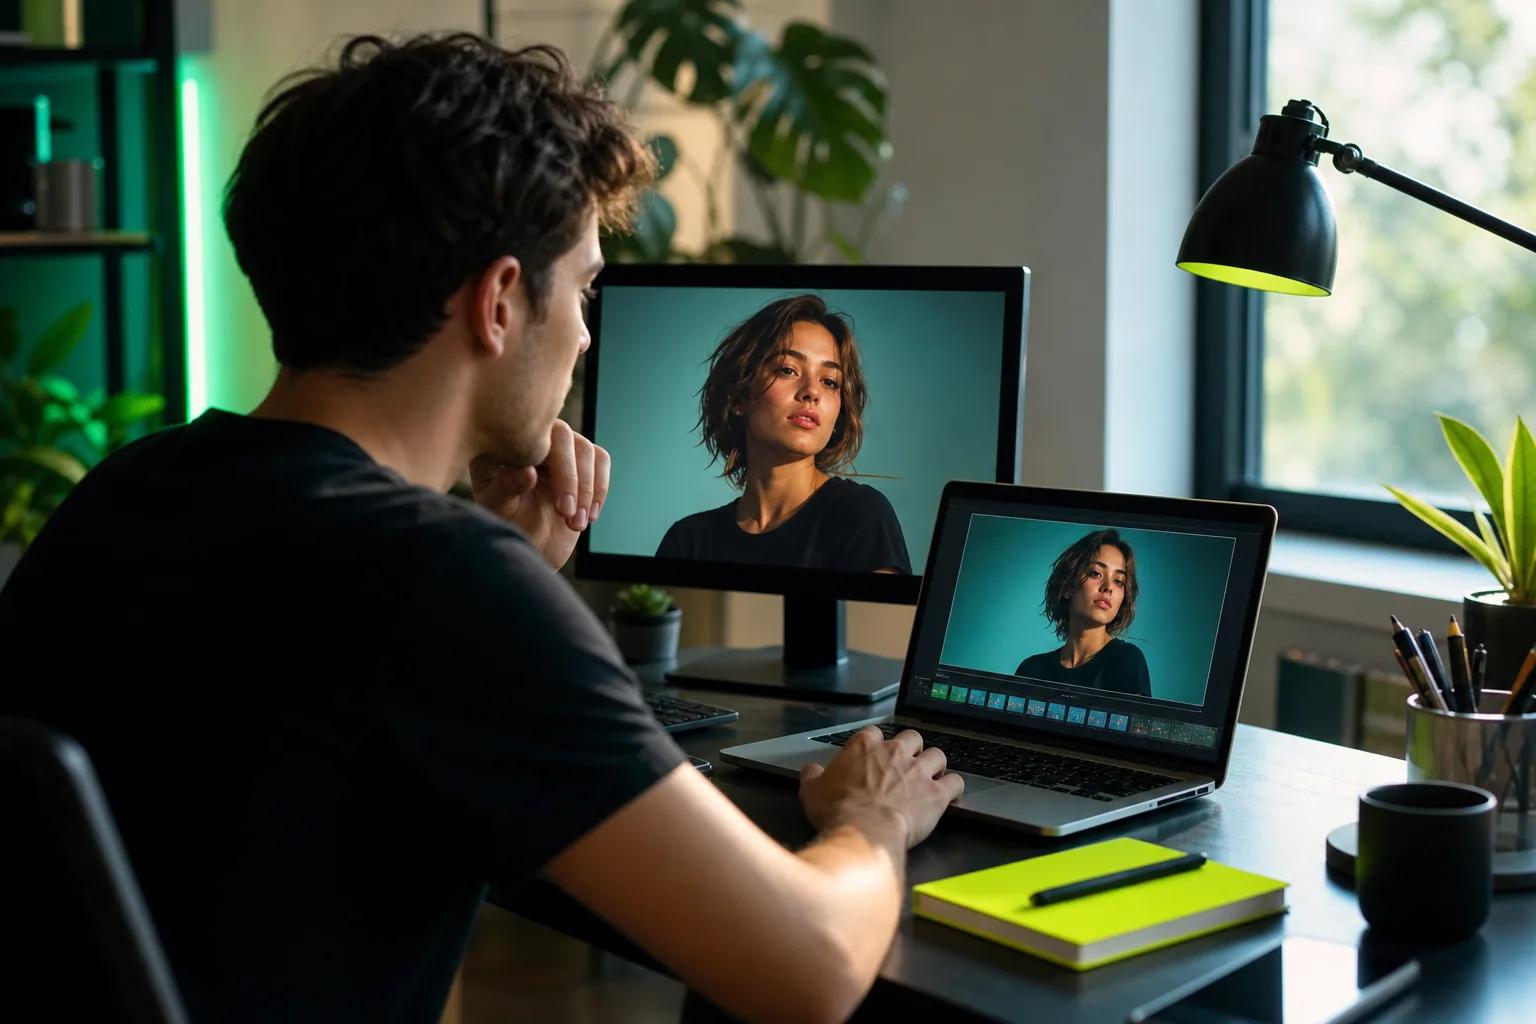
Use an image where the subject is easy to see. A sharp face, clear product edge, or distinct main object gives the model a stronger starting point. Avoid a photo where the subject blends into a busy background. If you have a few options, test the clearest one first.
Check the frame before uploading. If the final clip is for a vertical social post, choose a portrait crop. For a landscape video, keep the subject inside the wider frame. Leave room in the direction you want the camera to move. A tight crop can cut off a hand, hat, or product edge when the scene shifts.
Write down one subject action and one camera move. For example: “The person smiles and turns slightly toward the window. Slow camera push-in. Keep the face and clothing unchanged.” That prompt describes the motion and sets limits. It’s more useful than a vague request to make the image look cinematic.
Prompt wording can guide timing and sound too. OmniRender supports image references with Gemini Omni 1.1 Flash, and its output can include native sound and dialogue. If you need a spoken line, put the exact words in quotation marks and describe who says them. The AI video prompt examples can help you shape instructions for camera movement, action, and sound.
Think about what must remain fixed. For a product clip, that might be the label shape or the position of a logo. For a family portrait, it may be each person’s face. Name those details plainly. Don’t ask for several movements at once, such as a person turning, waving, walking, and speaking. Start with the most important one.
Quick check: Before you generate, make sure the photo is yours to use or that you have permission to animate it. Be careful with images of other people, especially if the result could make them appear to say or do something they didn’t.
By now, you should have one clean image, a target aspect ratio, and a short prompt with a single main motion.
Step 3: Generate the animated photo clip
Upload the image as a reference, then set the clip length and frame shape. Start with a short take so you can judge the motion before spending time on a longer version. In OmniRender, select video, attach the image, and describe the shot in the prompt field. Choose portrait for a vertical social post or landscape for a wider frame.
Keep the first prompt direct. Try: “A slow push-in toward the product. Soft daylight shifts across the surface. Keep the product centered and unchanged.” For a portrait, try: “The person looks toward the camera and says, ‘Thanks for stopping by.’ Gentle camera move, natural expression.” The quote gives the model the spoken words to animate.
OmniRender uses Gemini Omni 1.1 Flash as its default model. Each generated take can run from 3 to 10 seconds. The model can make sound with the video, including dialogue with lip sync. OmniRender is an independent app, not a Google product or endorsement; its official site describes access and plans.
Review the current plan and generation settings before you start, since available options may vary. These details make it easier to test a draft before choosing your settings.
Look at the result once without pausing. Does the main subject stay recognizable? Does the motion fit the prompt? Then replay it and inspect the details most likely to shift, such as fingers, eyes, clothing edges, or a product’s outline.
If the clip changes too much, tighten the instruction. Replace “make the person move” with “turn the head slightly, keep the body still.” If the camera feels too active, ask for a fixed camera. Make one change per new attempt so you can tell which instruction helped.
By now, you should have a draft with the right subject, motion, and length. Don’t polish a weak starting image with a longer prompt. Fix the source image or reduce the motion first.
Step 4: Refine, export, and share your result
Review the clip at normal speed before making edits. Watch for jitter, ghosting around the subject, or details that bend as the camera moves. Unnatural motion can come from a prompt that asks for too much at once. Reduce the action, then generate again with a more specific instruction.
When one part is wrong, name that part. For example, ask for a steadier camera while keeping the subject’s face and clothing unchanged. OmniRender supports conversational editing, so you can describe a change in a sentence instead of rebuilding the whole prompt. Make one edit, review the result, then decide whether another pass is needed.
For a social clip, confirm the frame fits the platform before export. A vertical video should keep the face or product away from the edges where app controls may cover it. For an ad, check that any spoken line is clear and that the product remains easy to recognize. A short clip often works better when the motion supports the message instead of competing with it.
Choose a resolution based on where the clip will appear, and check OmniRender’s current export options and plan details before exporting. Download the finished file from your gallery, then watch it once more on a phone if that’s where people will see it.
Before sharing, check that you have rights to the source photo and any music or other material you added. If the clip depicts a real person, don’t present generated speech or actions as authentic footage. Be clear when context calls for it.
FAQ
Can AI animate any photo?
AI can animate many clear photos, but the result depends on the image and the motion you request. A sharp subject against a simple background is often easier to read than a small subject in a crowded scene. Start with a photo you have permission to use, then ask for one small movement and review how well the subject holds its shape.
Do I need editing skills to animate a photo?
No, you can make a basic animated clip with a photo and a plain-language prompt. You’ll get more control if you can describe the subject’s action and the camera move clearly. Start with one direction, review the result, then adjust the prompt if the motion feels too large or changes details you wanted to keep.
Can an AI-animated photo include speech?
Yes, some tools can generate dialogue with a still-image video. OmniRender supports sound and lip-synced dialogue through Gemini Omni 1.1 Flash. Put the words in quotation marks and state which person should say them. Review the mouth movement and the audio before sharing, especially if the clip shows a real person.
What file format should I export?
Use the video format your target platform accepts. OmniRender’s generated videos can be downloaded from the gallery, but check the platform’s current upload rules for format and size before posting. Also view the export on the device people are likely to use. That helps catch a crop or detail that looked fine on your editing screen.
Can I use an animated photo in an ad?
You can use an animated photo in an ad if you have the rights to the photo and the output’s terms allow your intended use. Check the tool’s current license and any rules for people or brands shown in the image. Don’t use generated dialogue to imply that someone endorsed a product when they did not.
Conclusion
For a first try, use a clear image and ask for one restrained movement. If you want to test dialogue or lip sync, review available options in OmniRender, an independent app, and check its current plan details; its features and plans are distinct from Google’s underlying technology. Review the result before choosing paid output. For more photo-to-video workflows, explore the related free photo-to-video tools guide.