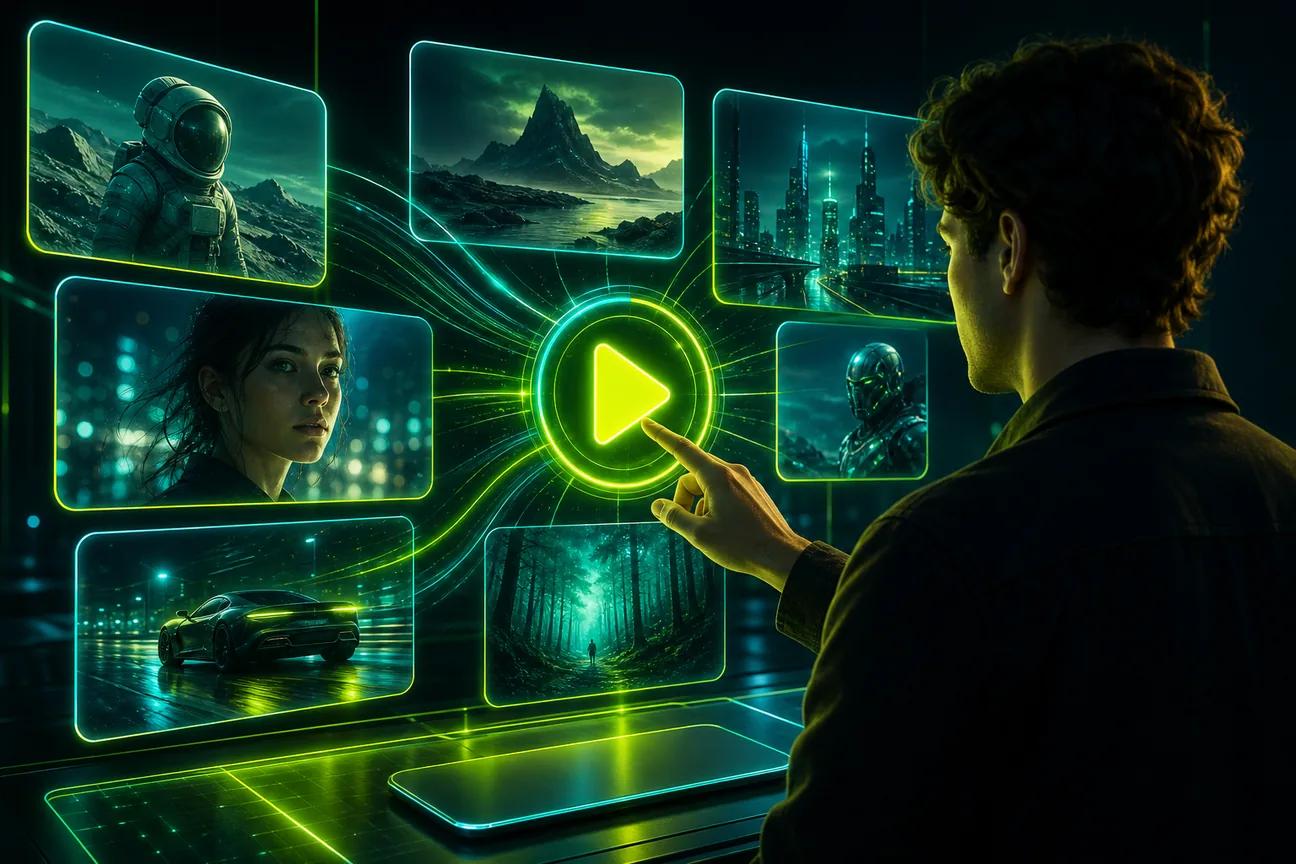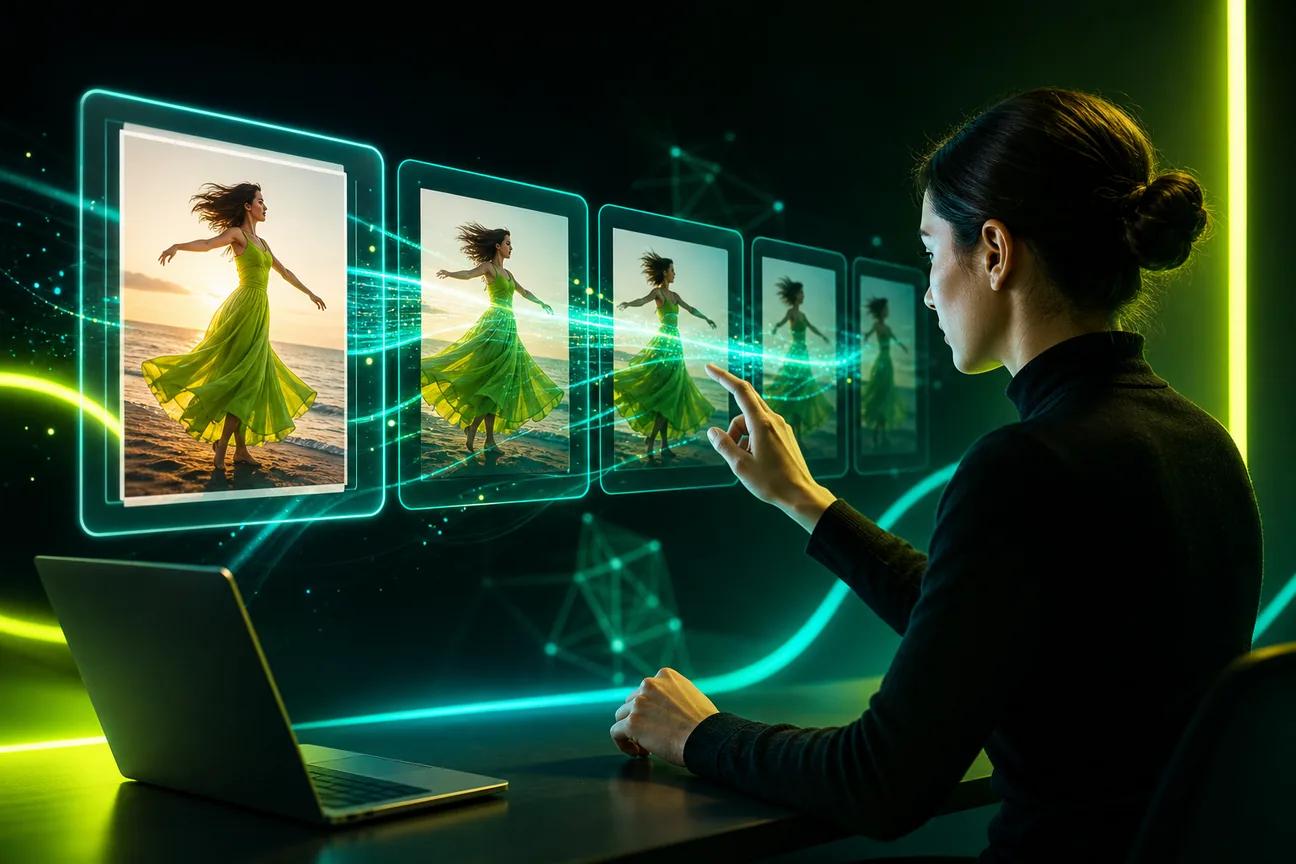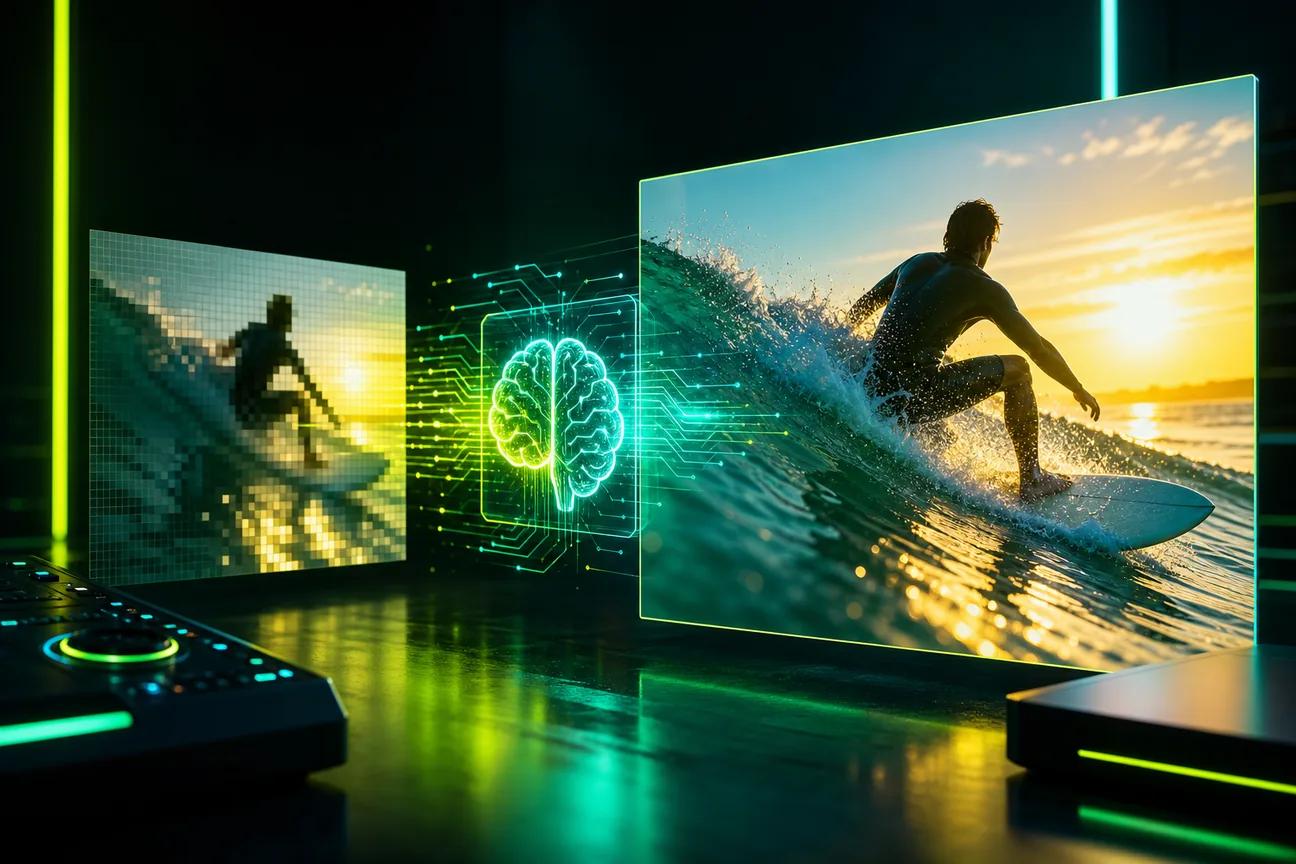
AI can help you turn a rough idea, a still image, or a longer video into a Short. The key is to give each step a clear job, then check the result yourself. Here’s how to make YouTube Shorts with AI, from your first hook to your next edit.
We analyzed 51 comments and questions from Reddit, YouTube and Quora about making YouTube Shorts with AI and found that 22% mentioned a workflow.
Step 1: Choose an AI workflow and tool for your Short
Start with the material you have and the kind of Short you want to make. A new idea may need a script and generated scenes. A product photo may be enough to guide one short visual. A long recording needs a different workflow: find a useful moment, crop it vertically, then tighten the edit.
Choose a tool based on that task, not on a long feature list. OmniRender is an independent, browser-based app that uses Google’s Gemini Omni models. You can start with text or image references, then make a short video with generated music, sound effects, or lip-synced dialogue. The app and its plans are separate from Google’s technology. Check current plan details, output limits, and commercial usage rights before choosing an output size or relying on a free plan.
Use this table to match your source material to a sensible first workflow. It’s a starting point, not a promise that every tool can handle every input.
| Your starting point | Workflow to try | What to check first |
|---|---|---|
| A fresh idea | Draft a script, then generate a few short scenes from text prompts. | Can the tool set a vertical frame and make clips long enough for your edit? |
| A product or location photo | Use the image as a visual reference, then describe one clear movement. | Does the subject stay recognizable as the camera or scene moves? |
| A long recording | Find one complete point or moment, crop it to 9:16, and remove pauses. | Can you keep the speaker and any key details in frame? |
| A spoken character or presenter | Write the line first, then use an avatar or generated character workflow if it fits. | Check the voice, lip movement, and whether the presentation feels right for your audience. |
AI avatars can save a camera setup for simple explainers, but they don’t fix a vague script. Use one only when a presenter helps the idea land. For a product demo, a close view of the item may say more than a talking face.
To get familiar with the prompt, aspect ratio, and output controls in OmniRender, see the step-by-step guide. Check current plan details before you choose an output size. A lower-resolution draft can help you judge the scene before spending credits on a final render.
By now, you should have a source, a format, and a first workflow in mind.
Step 2: Write a short script with a strong hook
Write the spoken words before you generate the video. Give the Short one point to make, then open with the part a viewer would care about most. Skip the greeting and the long setup. If you’re teaching a small skill, show the result first, then explain the move that gets there.
Ask an AI writing tool for several hook options, but give it useful limits. Name the audience, the point of the clip, the tone, and the time you have. Then ask for a short script in plain spoken language. A focused prompt might be: “Write a 25-second vertical Short for first-time home cooks. Explain one way to keep herbs fresh. Start with a surprising but accurate fact. Use short lines and no sales pitch.” Check every claim before recording or generating visuals.
Read the draft out loud. If a sentence feels hard to say, shorten it. If the script needs three ideas to make sense, split it into separate Shorts. You can also ask the writing tool to mark a pause or suggest where a close-up would help, but keep the final direction tied to what the footage can show.
For a generated character, put the exact line in quotation marks in your video prompt when the tool supports spoken dialogue. Keep the sentence brief. A long line can be hard to fit into a short shot, and lip sync needs a clear moment to carry the words.
Use this simple shape when the idea feels tangled:
- Hook: Name the problem or show the surprising result.
- Payoff: Give the tip, reveal, or key action.
- Close: Offer one next step, or end as soon as the point is clear.
A useful prompt-writing habit is to ask for three different openings, then choose the one that sounds most like you. The AI video prompt examples can also help when you need to describe action, timing, camera movement, or sound for a scene.
One last check: does the opening match the rest of the video? Don’t promise a shocking result if the clip gives a modest tip. A clear promise earns attention; a false one can cost trust.
By now, you should have a short script with one main point and an opening that fits its payoff.
Step 3: Generate or repurpose footage for vertical video
Set the frame to portrait before you build the shots. A 9:16 layout gives you room for a vertical Short, but the subject still needs to stay near the center. Leave breathing room around faces, hands, captions, and anything the viewer must read.
For generated footage, describe one scene at a time. Name the subject, the action, the setting, and the camera move. Add the style or light only if it helps shape the shot. For example: “A baker sets a warm loaf on a wooden counter. Close camera push toward the crust. Soft morning light. Keep the loaf centered.” Avoid asking one brief clip to show several locations and actions.
OmniRender can turn text and image references into short video clips. If you have a product photo, attach it as a reference and describe the motion you want. Its video model makes clips from three to ten seconds per generation; scene extensions can continue a generated clip up to 40 seconds in total. For more detail on choosing and preparing a still, see how to make a picture move with AI.
When you already have long-form footage, don’t ask AI to pick a moment without reviewing its choice. Find a complete thought, a clear demonstration, or a strong reaction. Crop around the speaker or action, then check that the vertical frame doesn’t cut off a face, a tool, or a key detail. If you use an auto-editor, treat its cut as a first draft.
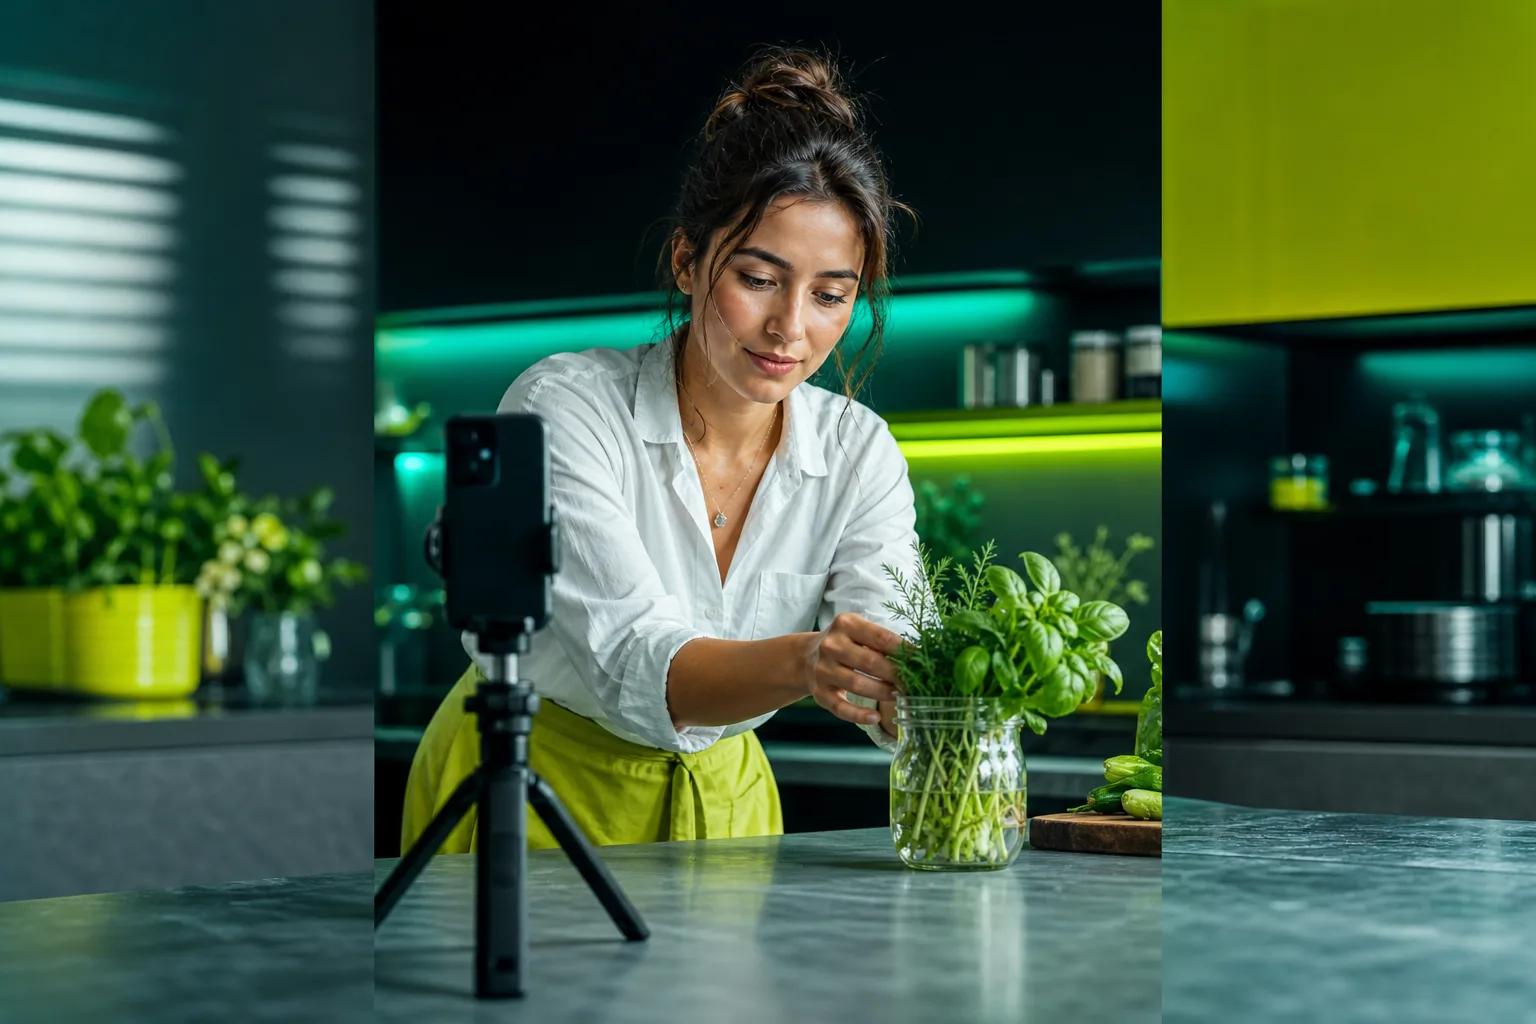
Watch the full draft at normal speed. Generated details can shift between frames, especially around a face, hand, product edge, or sign. If something changes in a distracting way, simplify the prompt or use a different shot. For a generated clip that needs a longer ending, the guide to extending a video with AI explains how to think about continuity.
By now, you should have footage that fits a vertical frame and supports the script’s main point.
Step 4: Edit the Short, add sound, and check captions
Cut anything that delays the point. Remove dead air at the start, trim pauses that don’t add meaning, and keep the order easy to follow. A fast pace is useful only when viewers can still understand what they’re seeing.
Then review the sound. Make speech easy to hear over any music or effects. If you generate a scene with dialogue, listen for words that don’t match the script and check whether the mouth movement looks natural. OmniRender generates sound with its video, including music, effects, and lip-synced dialogue. You can also ask for a targeted change to a generated clip in plain language instead of starting over.
Captions make spoken content easier to follow and give viewers another way to catch the message. Keep each line short. Place captions where they won’t cover a face, product, or action. Check the timing against the words, especially when someone speaks quickly or uses a name the caption tool may miss.
YouTube can generate captions, but automatic text may miss punctuation, capitalization, or the right wording. Check auto-captions and correct them when needed, then watch your own Short with the sound off.
Also look for visual errors the script won’t catch. Check faces, hands, logos, product shape, and any on-screen words. If an AI tool invents a detail or alters a real product, don’t publish that shot as an accurate demonstration. Replace it or make a careful edit.
By now, you should have a clean cut with sound and captions that match what’s on screen.
Step 5: Optimize the Short for discovery and viewing
Give the video a title that says what viewers will get. Use the main subject in everyday words, then add a reason to watch if it fits. “How to keep basil fresh for longer” tells a viewer more than “You won’t believe this trick.” Avoid stuffing several search terms into one line.
Write a short description that adds context. For a how-to clip, name the task and any key detail viewers need. For a product video, describe what the item does without adding claims the footage can’t support. Add a small set of relevant hashtags in the description if they help classify the topic. Skip tags that don’t fit just because they’re popular.
Choose a clear frame for the thumbnail or preview where YouTube gives you that option. Look for a frame with a readable subject and a useful expression or action. Check it at phone size. Tiny text and a busy background disappear quickly on a small screen.
Before you publish, check that the first seconds match the title and that the ending doesn’t drag. A viewer who expects a quick herb tip should see the herbs or the result right away, not a logo animation. There’s no title, hashtag, or thumbnail formula that can guarantee a Short will spread. These parts help set expectations; the video still needs to hold attention.
AI can help you draft a few title options or simplify a description. Pick the version that a person would understand on a quick scroll. Then read it beside the opening shot. If the words and the image seem to promise different things, revise one of them.
By now, the Short should have a clear title, a useful description, and an opening that delivers on its promise.
Step 6: Publish, review performance, and iterate safely
Before upload, check the full video one more time. Confirm that the crop works on a phone. Check that the captions are right. Make sure the sound is balanced and the ending feels finished. Save a clean copy so you can make a new version later without rebuilding the whole edit.
Review rights as well as the creative. Use footage, photos, music, and voices you own or have permission to use. If a generated character resembles a real person, don’t present it as that person without permission. Read the AI tool’s terms for the plan you use, especially if the Short promotes a product or supports a paid campaign. OmniRender is an independent app; check its current terms for the exact use you have in mind, as licensing details should be confirmed before relying on them.
Creators are responsible for making sure their Shorts follow YouTube’s Community Guidelines, including when they use YouTube’s own AI creation features. Review a generated clip for misleading details, privacy issues, or content that could harm someone. When your content uses realistic synthetic material that might mislead viewers, check YouTube’s current upload guidance for disclosure steps.
After publishing, give the video time to collect viewer data. Review the analytics available for that Short. Pay attention to whether people stayed past the opening, how long they watched, and where views came from. Compare those signals with the goal you set. A clip meant to teach a quick trick has a different job from a product teaser.
Use one finding to shape the next version. If viewers leave early, test a more direct opening. If they stay but don’t reach the payoff, shorten the middle. If a certain kind of shot holds attention, try a new idea with a similar visual approach. Change one thing at a time so you can tell what may have helped.
Keep your own contribution visible across the channel. Add original advice, a clear point of view, or a real demonstration. AI can speed up production, but repeated clips with the same generic script may feel interchangeable to viewers. Build each Short around a specific idea, not just a new prompt.
By now, you should have a review habit: publish, learn from the response, and test one focused change in your next Short.
Frequently asked questions
Can I make a YouTube Short with AI for free?
Check OmniRender’s current plans to see whether a free option fits your project, and confirm the applicable usage terms, especially if you plan to use the Short commercially.
Can AI turn a long video into a YouTube Short?
Yes, AI editing tools can help find or cut a short segment from longer footage, but review the result yourself. Choose one complete moment, reframe it vertically, and check that the subject stays in view. Trim pauses only when doing so doesn’t remove context the viewer needs.
How long should an AI-made YouTube Short be?
Make the Short only as long as the idea needs. A single visual point may work in a few seconds, while a quick explanation needs room for the steps and payoff. Draft the script first, then remove lines or shots that don’t help viewers understand the main point.
Can I use AI-generated video on YouTube?
You can use AI-generated video, but you’re responsible for what you publish. Review the result for errors and check that it follows YouTube’s rules. Use source material you have rights to use, and check YouTube’s current upload guidance if realistic synthetic content could mislead viewers.
How do I make AI captions more accurate?
Review the captions against the spoken audio before publishing. Correct misspelled names, missing words, punctuation, and timing. Keep lines short enough to read, then watch the Short once with the sound off. If the message still makes sense and the captions don’t cover key details, they’re easier to follow.
Conclusion
Start with one clear idea, a short script, and a vertical draft. Review the clip before you post, then use viewer response to choose one change for the next Short. If you want to test a text or image-based workflow, explore OmniRender’s browser-based studio and start with a low-resolution draft.