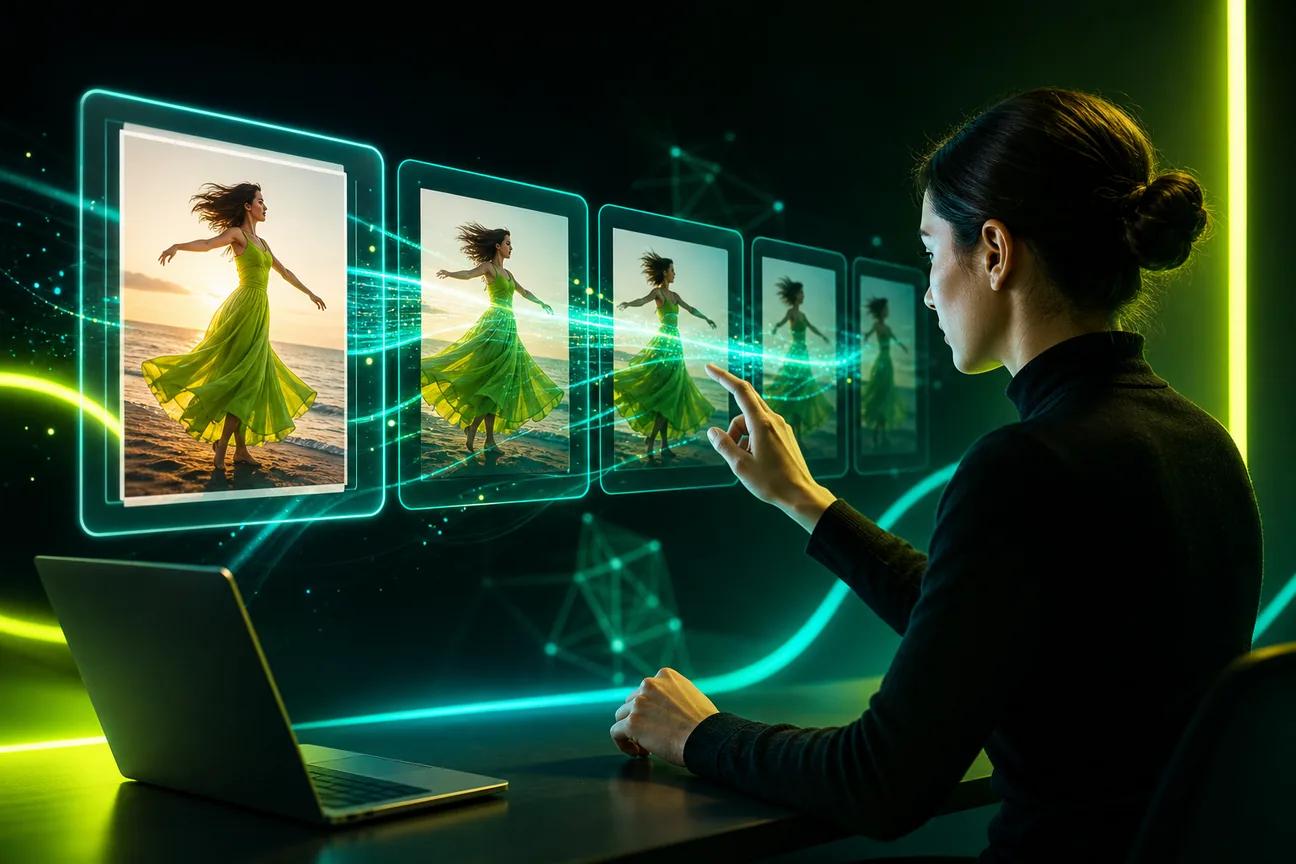
How to make a picture move with AI comes down to one clear image and one clear motion. Pick what should move, describe what must stay the same, then make a short test clip before you polish it for social, an ad, or a lesson.
We analyzed 53 comments and questions from YouTube and Quora about animating photos with AI and found that 21% mentioned poor animation quality and slow rendering.
Step 1: Choose a Clear Image and Decide What Should Move
Start with a photo where the main subject is easy to see. A sharp face, a clean product outline, or a single subject against a calm background gives the model less clutter to interpret. If the image is soft or crowded, crop it or choose another frame before you animate it.
Next, choose one action. A person might turn toward a window. A cup of coffee might release a thin curl of steam. For a product image, you could ask for a slow camera push while the item stays still. The movement should help the viewer notice something, not make the whole scene busy.
If you’re weighing different image-to-video workflows, this comparison of image-to-video generators can help you match the tool to the kind of motion you need. Before you upload a photo of a person, make sure you have permission to use and animate it. Don’t make a real person appear to say or do something they never agreed to.
Check the crop, too. A vertical image works well for a vertical short, while a wide frame suits a landscape video. Leave some space around the subject in the direction you want the camera to move. A tight crop may cut off a hand or the edge of a product once the scene shifts.
Write down two things before moving on: what moves, and what stays fixed. For a product clip, the label and shape may need to remain steady. For a portrait, it may be the person’s face and clothing.
Step 2: Select an AI Animation Tool and Upload Your Picture
Choose a tool that fits the clip you want to make. Some focus on animating an image with a simple movement. Others can also add speech, sound, text-based changes, or a continuation of the scene. If your idea depends on a person speaking, check for lip sync. If you want to revise the clip without starting over, look for prompt-based editing.
OmniRender is an independent, browser-based app powered by Google’s Gemini Omni models. It can use an image reference to generate a video, with sound and lip-synced dialogue. You can also describe an edit in text or extend a generated scene. Google develops the underlying model; OmniRender provides its own app, features, and plans. It isn’t a Google product or an endorsement by Google.
To try the workflow, open OmniRender in a browser and add your picture as a reference. Pick the frame shape before you generate. Choose 9:16 for a vertical short or 16:9 for a wide video. Set the clip length and resolution to suit your draft. Check current plan details and licensing before use, since allowances and commercial usage rights may vary.
Some other image-to-video options include Dreamina, Kling, Google Veo, and Vidu. Dreamina is listed with image-to-video and scene extension, with a 720p resolution limit. Check a tool’s current settings before you commit a finished asset, since the available controls and output settings can change.
Upload the original image at a size that keeps the key details clear. If the tool lets you choose how the image is used, decide whether it should guide the whole scene or serve as the first frame. For a recognizable product shot, ask the model to preserve its shape and any important visual details.
Review OmniRender’s output closely, especially small text and fine edges, before using the clip in a polished ad.
Step 3: Write a Motion Prompt and Generate the Animation
A useful prompt names the subject, one main action, the camera movement, and the details to preserve. Keep it plain. Instead of writing “make the photo come alive,” describe what should happen in the frame.
For example: “A ceramic mug stays on the wooden table as steam curls upward. The camera slowly pushes closer. Keep the mug’s shape and color unchanged.” That prompt gives the model a subject, a motion, a camera cue, and a clear limit.
For more prompt ideas, use the AI video prompt examples as a starting point, then adapt the wording to your image. Add only the details that matter to your clip. If you add a setting or lighting direction, make sure it supports the action rather than competing with it.
For a person in the photo, keep the requested movement modest at first. Try a slight head turn or a small smile instead of asking for walking, waving, and speaking all at once. For a product, let the camera move while the product stays put. That often keeps the item easier to recognize.
When you want dialogue, put the exact spoken line in quotation marks and say who should speak it. Keep the line short enough to fit the clip. OmniRender can generate lip-synced dialogue with the image, along with music or sound effects. If you need a quiet product shot, say that the scene has no dialogue or music.
Now generate a draft. Watch it once at normal speed before pausing. Does the subject stay recognizable? Does the motion match the prompt? If the result feels off, change one instruction at a time. A smaller action or a clearer note about what must stay still is often more useful than adding a long list of extra details.
For a scene with a planned start and finish, you can use first and last frame controls where available. Attach the two stills, then describe the movement between them. Keep the transition simple on the first try, such as a slow push from a wide view into a close-up.
Step 4: Review, Refine, and Export the Clip for Its Destination
Review the full clip before you make changes. Then watch it again for small details that can shift: eyes, fingers, clothing edges, product outlines, and any text in the image. Look for jitter or shapes that bend when the camera moves. A clip can feel smooth at a glance and still have a distracting detail on replay.
Refine the smallest thing that needs work. If the face changes, reduce the head movement and say to keep the person’s appearance consistent. If the product wobbles, remove the camera orbit and try a slow push instead. When you use OmniRender, you can describe a change in a sentence and keep the rest of the generated scene. You can also extend a generated video in steps, up to 40 seconds total.
Choose the frame shape for the place you plan to post. A vertical short needs a 9:16 frame; a landscape presentation may call for 16:9. Keep captions clear of the subject’s face and any product details. For training or e-learning, add captions and a transcript so viewers can follow the spoken content without relying on audio.
For course content, also check the export needs of your learning platform before you make a batch of clips. Keep each animation focused on one lesson point. A photo of a lab setup might show one part moving while a voice explains that step. Don’t add speech or visual motion that could confuse the lesson.
If you’re turning one still into a complete social post, the workflow in How to Turn a Photo Into a Video covers choices around framing, sound, and final export. For any destination, preview the clip at the same shape and size your viewers will see. Export only after the motion, audio, and frame all work together.
Before using the clip in a paid campaign, check the current license terms for your account. Confirm whether commercial use is covered by your plan, and clarify any differences between free and paid tiers before relying on those rights.
Frequently Asked Questions
Can AI make a still photo move?
Yes, AI video tools can generate movement from a still photo. You upload an image, describe what should move, and generate a short clip. The result may alter fine details, so check faces, hands, and product edges before sharing it. A clear image and a focused prompt give you a better starting point.
How long does it take to animate a picture with AI?
It depends on the tool, the settings, and the amount of work in the prompt. A short test clip is usually the quickest way to judge the motion. Plan for extra time if you need to revise a prompt, correct details, or export at a higher resolution.
Can I use an AI-animated picture commercially?
That depends on the tool’s terms and the plan you use. Check the license before you publish an ad or other paid work. For OmniRender, confirm the current terms for your plan, particularly if you’re using the free tier. You also need permission to use the source image and any person shown in it.
What format should I export for social media?
Choose a frame shape that matches the destination. Vertical 9:16 video suits short-form feeds, while 16:9 fits many landscape players and presentations. Check the platform’s current file and size rules before export. If you’ll add captions in an editor, leave enough clear space around the subject.
How do I keep an animated face from changing?
Start with a clear portrait and ask for one small movement, such as a slight turn or blink. Add a direct instruction to keep the face and clothing consistent. Avoid stacking several actions in one prompt. Review the draft closely, then reduce the motion if the person’s features shift.
Conclusion
Start with a sharp image and one focused movement, then review a short draft before you raise the resolution. If you want to test image-based video with prompt edits, you can explore OmniRender’s browser workflow and confirm the plan terms that fit your project.