A still photo can become a short clip with a camera move, a little scene motion, or a full AI-generated action. If you're learning how to turn a photo into a video, start with a clear image, decide what should move, then refine the result before you share it.
We analyzed 37 comments from YouTube and Reddit about Photo to Video conversion and found that 27% mentioned limitations on features.
Step 1: Choose and Prepare Your Photo
Pick one photo that gives the tool a clear subject and scene. A portrait can work for a subtle blink or head turn. A product photo can become a short showcase. A landscape might suit drifting clouds or a slow camera move.
Use an image you own or have permission to use. Choose a sharp source with the subject in focus. Blurry faces, small details, and busy backgrounds can make it harder for an animation tool to keep the important parts steady. Crop out distractions before you upload.
Think about where the clip will appear. Vertical video suits TikTok, Reels, and Shorts. Landscape works for a presentation or a standard YouTube video. Square can fit a social post. If the photo is vertical but the final video needs a wider frame, consider placing the original image over a blurred copy of itself. That fills the empty sides without cutting off the subject.
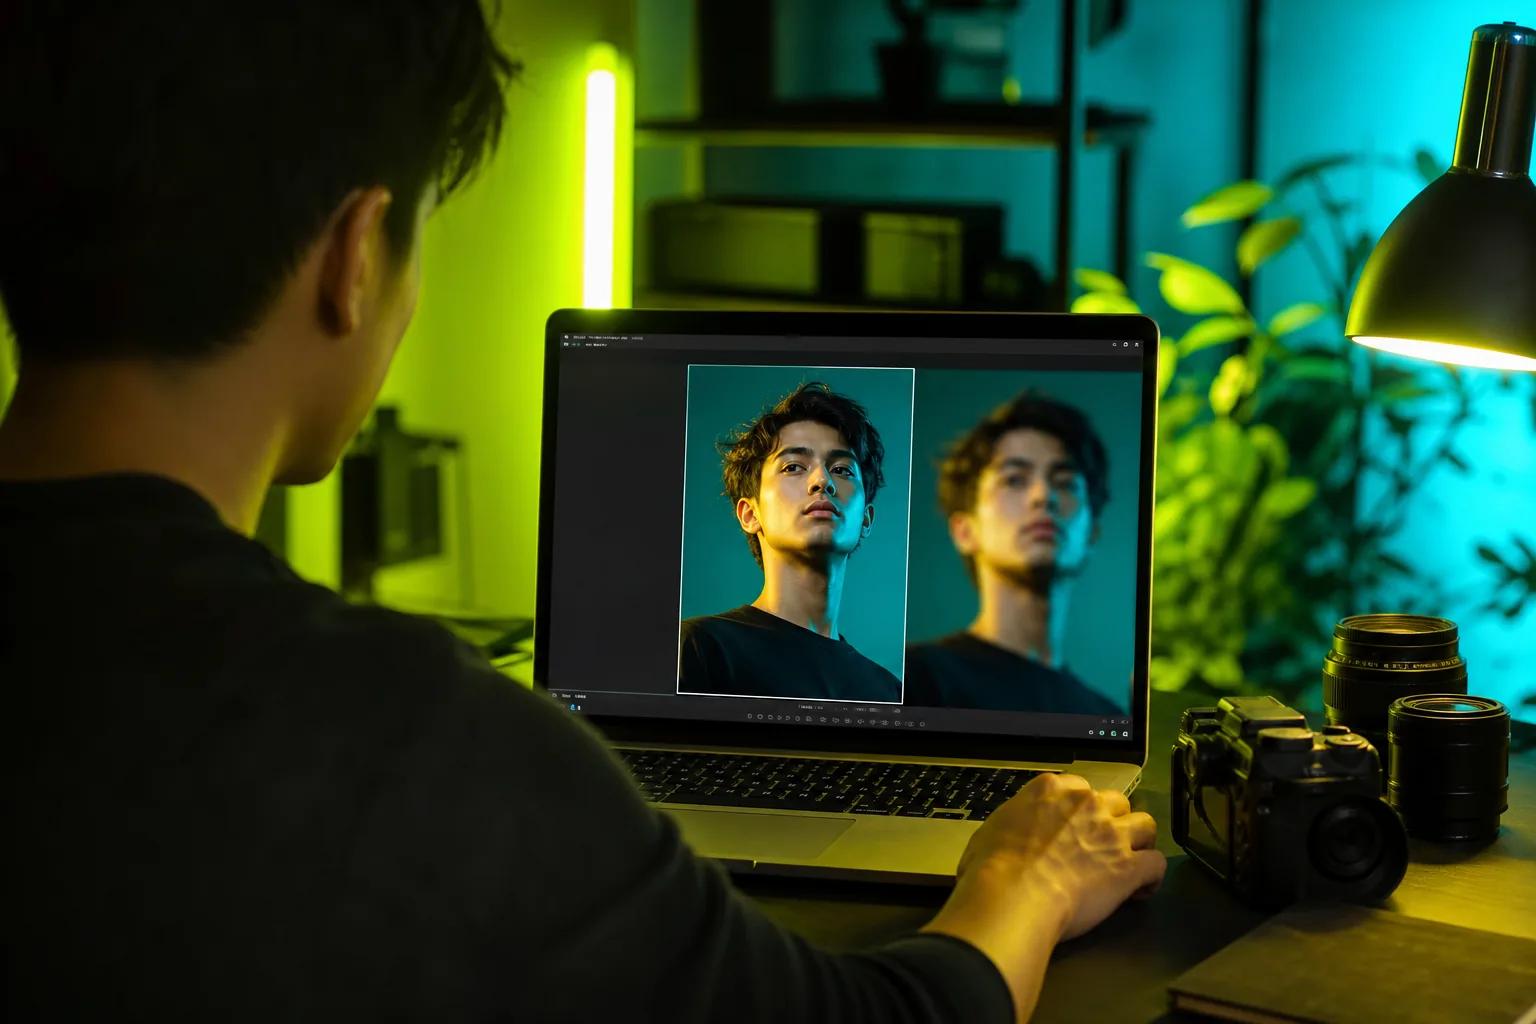
For a simple slideshow, gather a few images and put them in the order you want people to see them. For a single-photo animation, one strong source image is enough. If you're weighing different AI workflows before you start, see this guide.
Now decide what the viewer should notice first. This small choice guides your prompt and keeps the motion from feeling random.
Step 2: Upload the Photo and Describe the Motion
Upload the image to an AI video tool, or add it to a video editor if you want to animate it by hand. In OmniRender, you can use an image reference with a text prompt to guide the generated clip. OmniRender is an independent browser-based app that uses Google's Gemini Omni models. It isn't a Google product or an endorsement by Google.
Make your prompt specific. Name the subject first, then say what it does. Add the camera movement and the mood or light. Keep the action simple at first, since several competing instructions can pull the result in different directions.
Try this structure: “Animate [subject] with [one action]. Use a [camera move]. Keep [important details] unchanged. Set the mood with [lighting or style].” For a portrait, you might ask for a slow push-in, natural blinking, and a soft breeze moving the hair. For a product shot, request a gentle orbit and a light sweep while keeping the package shape and label intact.
Use action words the model can picture. “The curtain moves gently in the breeze” gives a clearer instruction than “make the room feel alive.” If a sequence matters, describe it in order: first the subject looks toward the camera, then the camera moves closer. Add a sound or spoken line only if it fits the scene.
OmniRender supports image references and can generate video with sound, including music, effects, and lip-synced dialogue. Its site says the free plan includes a few 360p videos each month, with no card required. Paid plans start at $14 per month. Check the OmniRender site for current plan details. The site describes commercial licensing in its plans, but review the current terms for the exact rights that apply to your use, especially on the free plan.
For a wider workflow comparison, see this guide. Once you have a first render, judge the motion before adding extra effects.
Step 3: Refine the Clip with Visuals and Audio
Preview the clip and look for changes that distract from the source photo. Watch the face, hands, product edges, and any text in the scene. If a logo or facial detail shifts, simplify the prompt or reduce the movement. In OmniRender, you can describe an edit in plain language, such as asking to change the camera move while preserving the rest of the scene.
For manual animation, set a start point and an end point on the timeline. In a keyframe editor, add a keyframe at the start, move the playhead, then change the image position or scale. The editor fills in the movement between those points. A gentle zoom or pan often looks more natural than a large jump. Timeline effects, transitions, and transform keyframes can shape a clip.
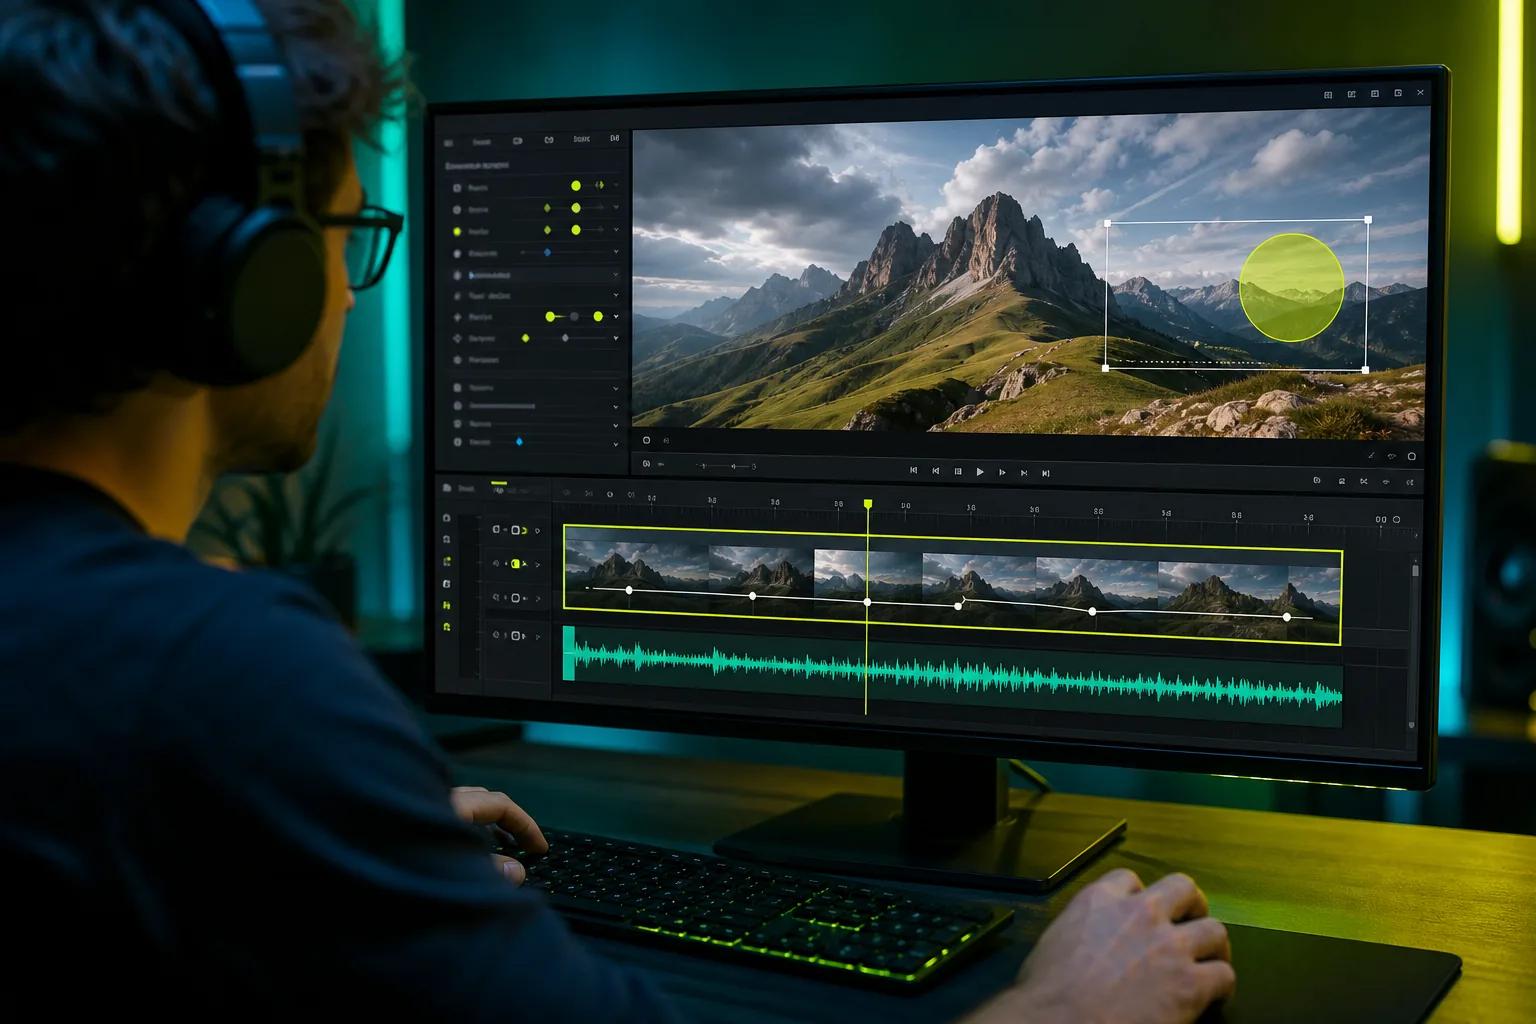
Add only the extras the clip needs. A short title can explain a product feature. A caption can help viewers follow spoken words with the sound off. A transition can soften the change between photos in a memory slideshow. Stickers or motion graphics can suit a playful social post, but they can crowd a simple portrait.
Audio changes the feel quickly. Use quiet music under a product reveal, a soft ambient sound for a travel scene, or a voice-over to explain a presentation slide. Keep the soundtrack lower than speech. Trim it to the clip length, then listen once on speakers and once with headphones for sudden cuts or distracting effects.
OmniRender generates native sound with the video, including dialogue that can match a character's lip movement. If the clip needs a line of speech, put the exact words in quotation marks in your prompt. For a slideshow or a manually edited clip, add music on a separate track so you can adjust its level without changing the images.
Step 4: Export, Download, and Share Your Video
Set the frame shape before export. Use 9:16 for a vertical short, 16:9 for landscape viewing, or 1:1 for a square post when the platform calls for it. Check the preview at the same shape. A crop that looks fine in the editor may cut off a face or product once it fills a phone screen.
Choose an output size that fits where the clip will go. A lower-resolution draft is useful for checking timing and motion. Use a higher-resolution setting for the final version if your tool and plan support it. OmniRender's available resolutions vary by plan; its website describes free output at 360p and paid plans with higher resolutions, including 4K. Check the current account options before you render.
Watch the whole clip once before downloading. Look for a rough opening or ending, a sudden shift in music, or a title that appears too briefly to read. If you made a slideshow, check each transition. For a single AI clip, make sure the last frame doesn't stop in the middle of an action.
Export the finished file in a format accepted by the platform where you'll post it. Save a clean copy for later edits, then upload a separate version with platform-specific captions or text if needed. Keep the original photo too. You may want to try a different crop or prompt without starting over.
If the generated clip feels too short for your idea, OmniRender supports scene extensions for its generated videos. For a simple social post, though, a short clip with one clear movement is often easier to watch and reuse.
Photo videos work well for product showcases, social shorts, memory slideshows, and presentation visuals. Match the length and format to the job. A product page may need a clean view of the item, while a birthday slideshow can use several photos with music and gentle transitions.
Frequently Asked Questions
Can I turn a photo into a video for free?
Yes, some tools provide free access or credits, though limits vary. OmniRender's site says its free plan includes a few 360p videos each month and doesn't require a card. Check the current plan details before you start, since resolution and monthly use affect what you can make. Review licensing terms too if you plan to use the video for business.
What should I write in an image-to-video prompt?
Describe the subject, one main action, and the camera movement. Then add a lighting or style note and name any details the tool should preserve. For example, ask for a slow push-in while keeping the person's face consistent. A focused prompt is easier to refine than one that asks for many scene changes at once.
How do I animate a photo without AI?
Put the photo on an editor's timeline and use keyframes to change its position or size over time. Set one keyframe at the start, then another later in the clip. A slow zoom or pan creates motion without changing the photo itself. You can also add a transition if you're combining several still images.
How do I make a photo video fit TikTok or Reels?
Set the project to a vertical 9:16 frame before you export. Keep faces and key objects near the center so they don't get cropped by the app's interface. Preview the full clip on a phone-sized screen if possible. If a landscape photo leaves empty sides, use a blurred duplicate behind it rather than stretching the original.
Can an AI photo video include speech and music?
Some AI video tools generate sound with the image, while others need audio added in an editor. OmniRender supports generated music, sound effects, and lip-synced dialogue. For a manual slideshow, place speech or music on its own timeline track, then adjust the volume so words remain clear.
Conclusion
Start with one sharp photo and one clear movement, then add sound or text only when it helps the clip. Make a short draft first, check it on the screen where you'll share it, and revise the part that feels off. When you're ready, try an image reference in OmniRender or explore the guides above for your next step.